

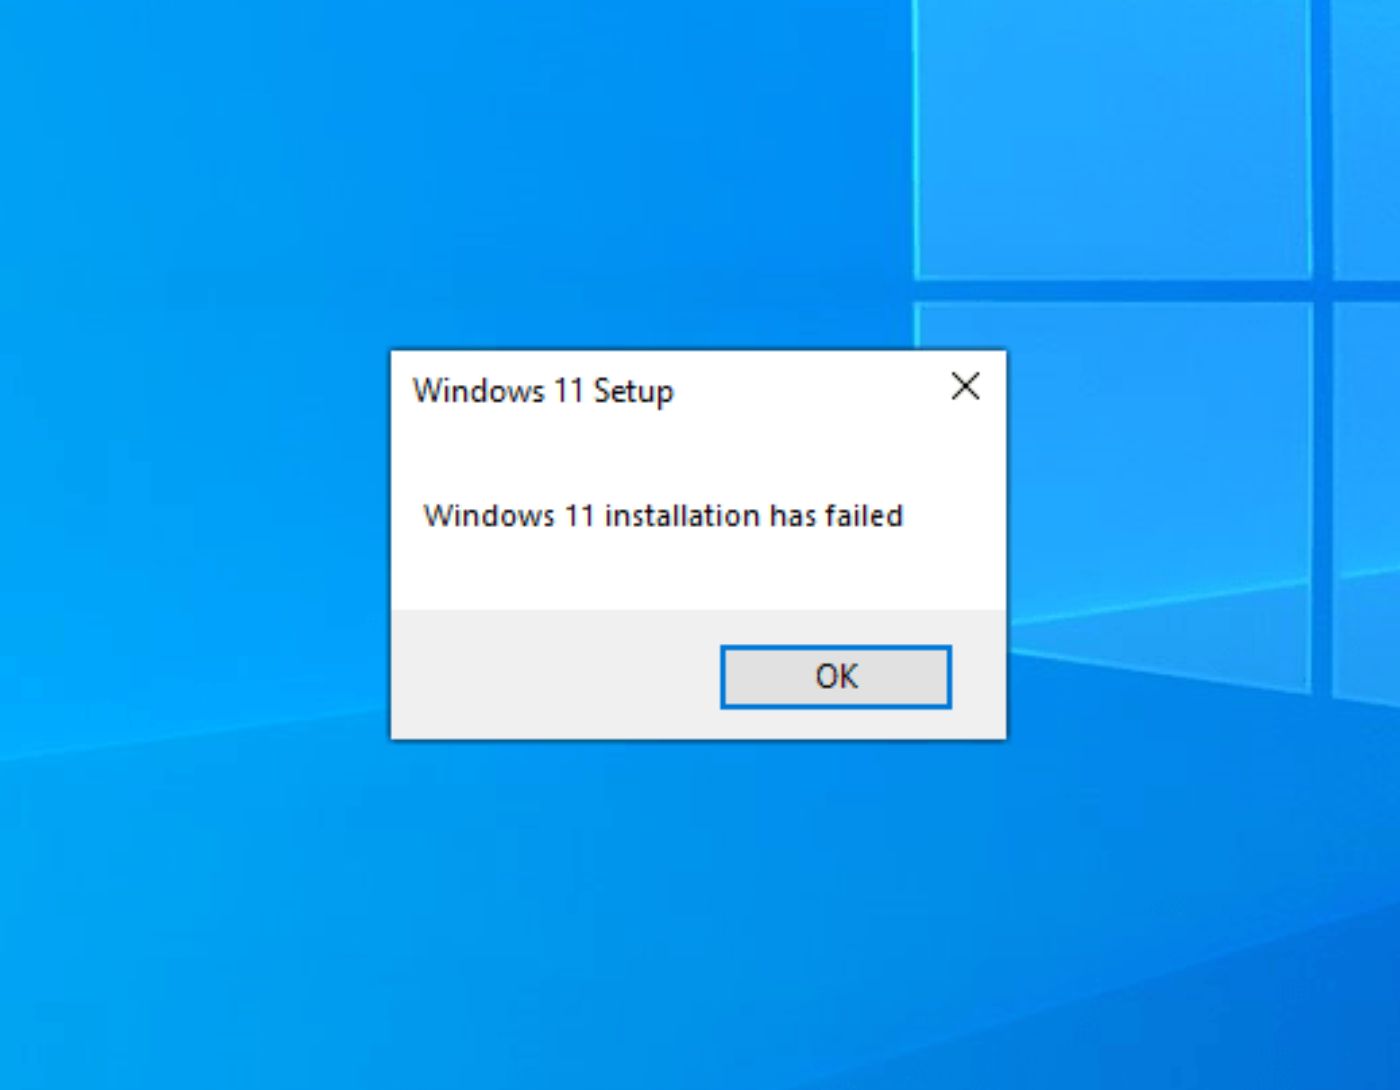
Failed Windows 11 Installation and How to Fix It: Are you encountering the Windows 11 installation failure error? If so, you're not alone; many other users have reported facing a similar issue. Fortunately, this problem can be resolved, and you can do it yourself by following the steps outlined below.
However, before we learn how to troubleshoot the error, let's identify the reasons that lead to the failure of the Windows 11 installation.
Reasons for Windows 11 Installation Failure
The error can occur for various reasons. Here, we list the most common ones that will help you understand why the Windows 11 installation failed.
Outdated or corrupted device drivers.
The PC is incompatible with Windows 11 or does not meet the system requirements.
An incorrect Windows 11 ISO file was downloaded, or the Insider Preview version has issues.
Problems with the disk, UEFI, Secure Boot, or MBR.
Insufficient disk space.
Interference caused by antivirus software or third-party applications.
Duplicate installation files for Windows.
The boot manager is corrupted.
Incorrect file extension.
Common Windows 11 Installation Issues
Installation failure without an error code due to antivirus software.
Windows 11 ISO installation failure.
Setup installation failure.
Unable to install Windows 11 - Error 0xc1900101.
Installation failed at the Safe_OS stage.
Setup failed to validate the product key.
Error in Windows Installer.
This PC cannot run Windows 11.
Whatever the error message or cause, we will help you fix it. Follow the fixes outlined individually in the correct order to find the best solution for you.
What Does This Error Mean?
This error means that the installation process was unable to complete successfully due to various system-related issues. This error can occur during an upgrade from Windows 10 or a fresh installation of Windows 11.
Failed Windows 11 Installation and How to Fix It
To troubleshoot stuck Windows 11 installations, here are some basic fixes, followed by more complex ones. Before moving on to technical solutions, follow the quick tips below:
Basic tips for fixing Windows 11 upgrade and installation errors
Fix 1 - Disconnect all external hard drives connected.
Fix 2 - Check the version of Windows 11 you are using. It should be genuine.
Fix 3 - Scan your computer for malware infections.
Fix 4 - Update your device drivers.
After performing these basic steps, restart your computer and try reinstalling Windows 11. However, if the problem persists, keep reading to implement the fixes outlined below:
Failed Windows 11 Installation and How to Fix It
Method 1 - Check PC Compatibility
Most PC users are unaware that to install Windows 11, the PC must meet the following system requirements.
Processor: 1 GHz or faster with 2 or more cores on a compatible 64-bit processor.
RAM: 4 GB.
Storage: 64 GB or larger storage device.
System firmware: UEFI.
TPM: Trusted Platform Module (TPM) version 2.0.
Graphics card: DirectX 12 compatible or later with WDDM 2.0 driver.
Display: HD display that is greater than 720p.
Internet connection and Microsoft accounts: Windows 11 Home edition requires an internet connection and a Microsoft account to complete device setup on first use.
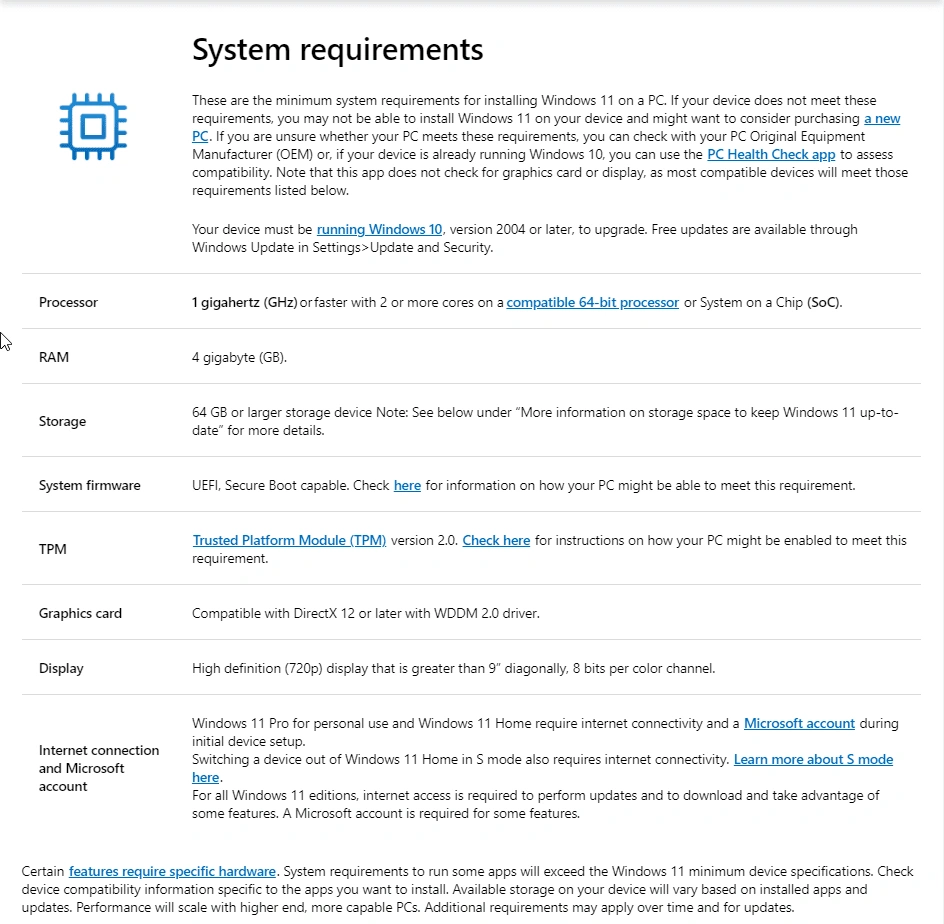
Screenshot of system requirements
If your computer fails to meet these requirements, you will encounter Windows 11 installation failures and other errors.
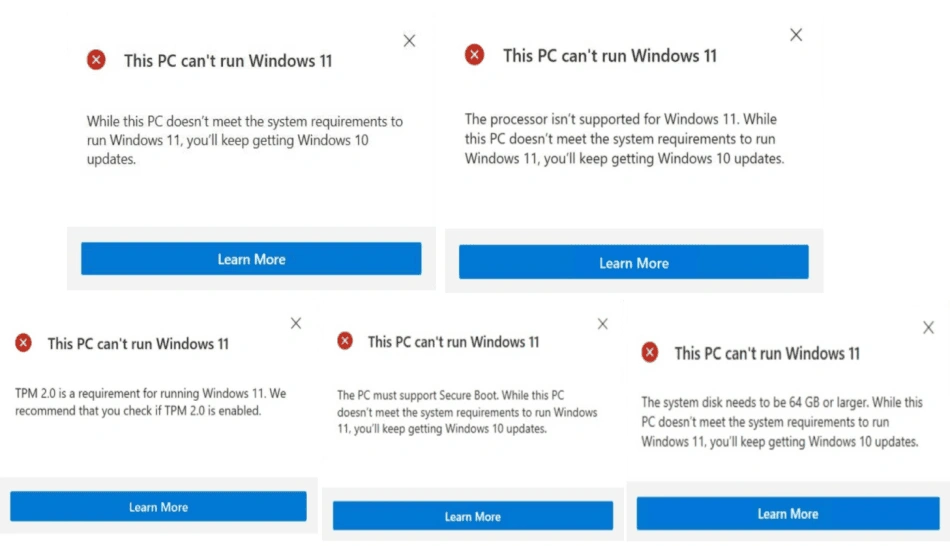
Note: Microsoft provides a detailed step-by-step guide to open the PC Health Check app on their official website.
1. Install the PC Health Checkup app if it is not already installed.
2. Press Windows + S and search for PC Health Checkup. Choose the best search result.
3. Click on Check Now.
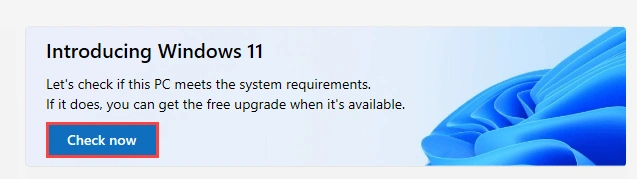
Check Now - Option
4. The app will display whether your PC is compatible with Windows 11 or not.
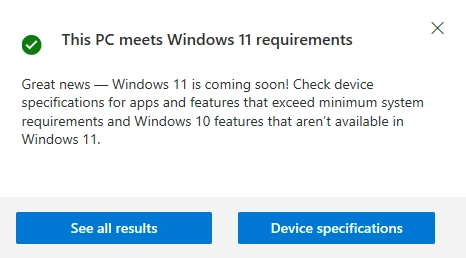
PC - Compatible with Windows 11 - or Not Compatible - Screenshot
If it is compatible and you are still experiencing issues with Windows 11 and cannot install the update, it seems that TPM 2.0 and Secure Boot are missing from the BIOS.
What is TPM 2.0?
TPM is a computer chip that provides hardware-based security. When the BIOS/UEFI and CPU do not fall within Microsoft's allowed range, you cannot install Windows 11. Below is a list of supported AMD and Intel CPUs.
8th generation Intel Core processors and newer products.
AMD Ryzen processors.
Ryzen 3000 series and newer products.
Steps to check TPM 2.0 on your PC
1. Press Windows + R to open the Run window.
2. Type tpm.msc and press Enter.
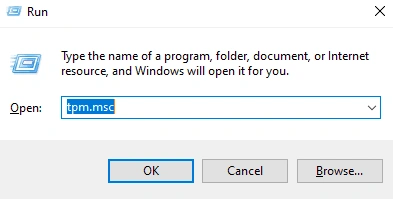
Type tpm.msc_
3. This will open the TPM Management window. Here, under the Status tab, if you can read TPM is ready for use, it means TPM is enabled. Check the TPM version from the bottom of the TPM manufacturer information.
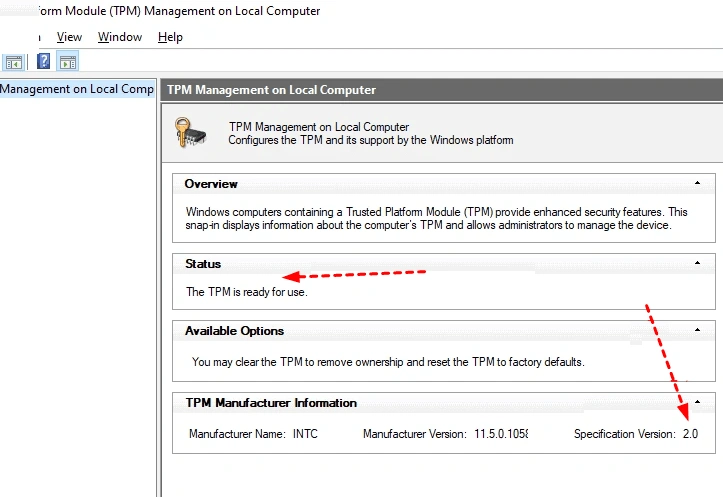
TPM Management Window - TPM Management
4. If TPM is compatible but disabled, you will see a message saying "Compatible TPM cannot be found." This means you need to log into BIOS to enable it.
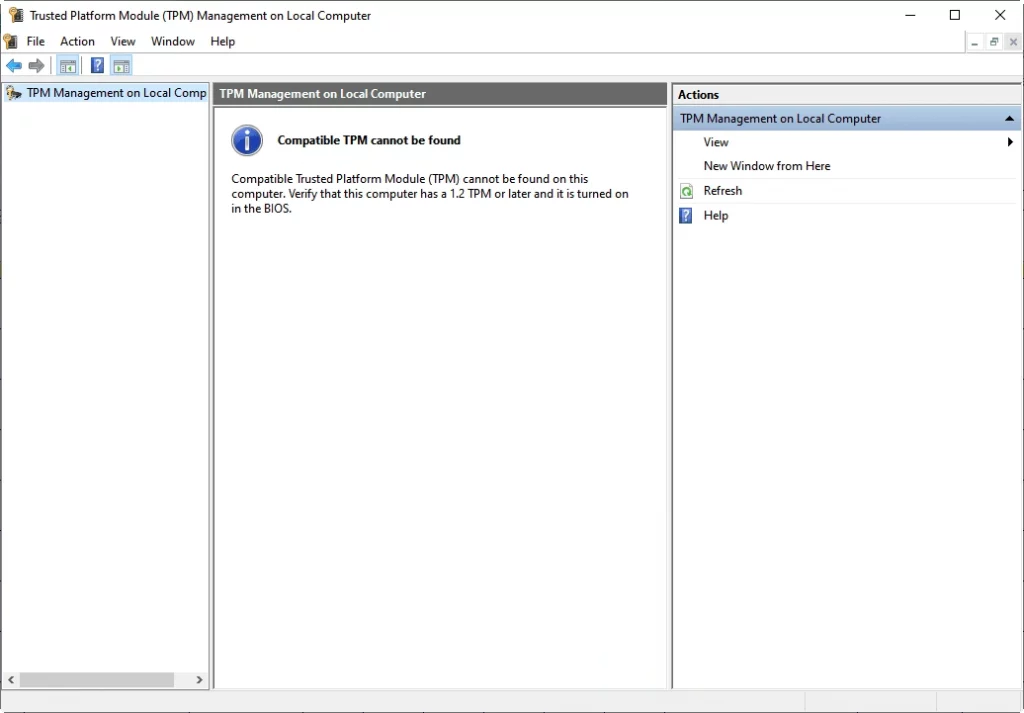
To do this, follow these steps.
<!-- wp:paragraph


